PerksPe Settings
Manage your personal profile, organization details, team roles, and communication templates in one centralized hub.
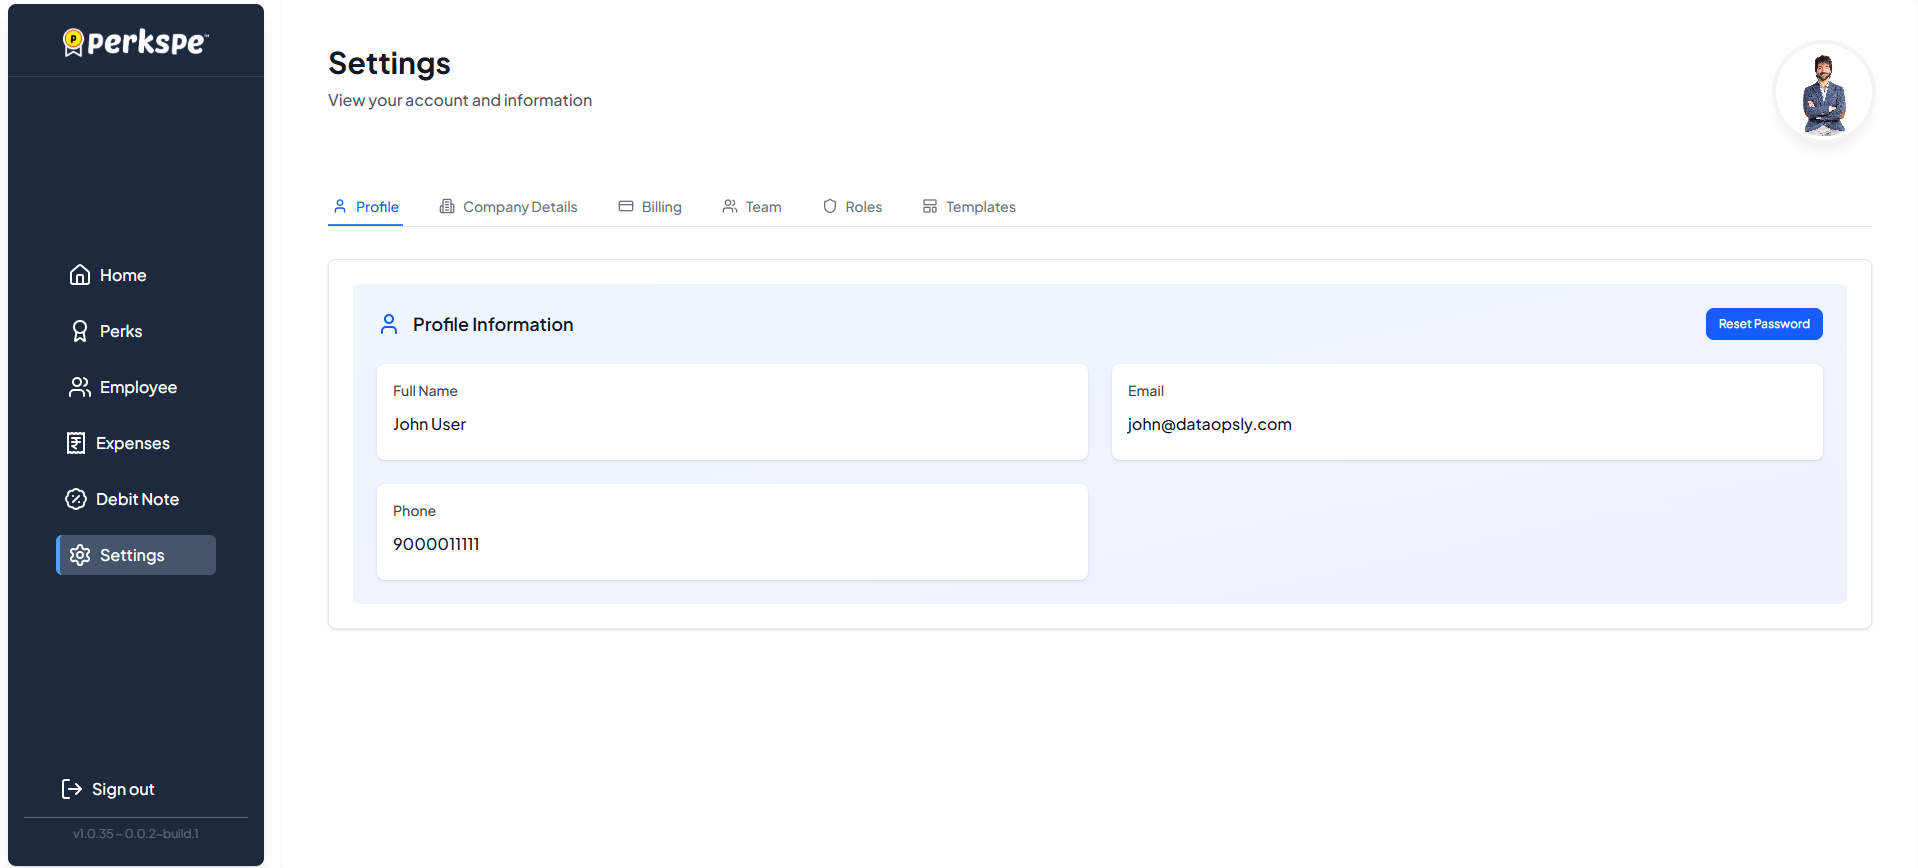
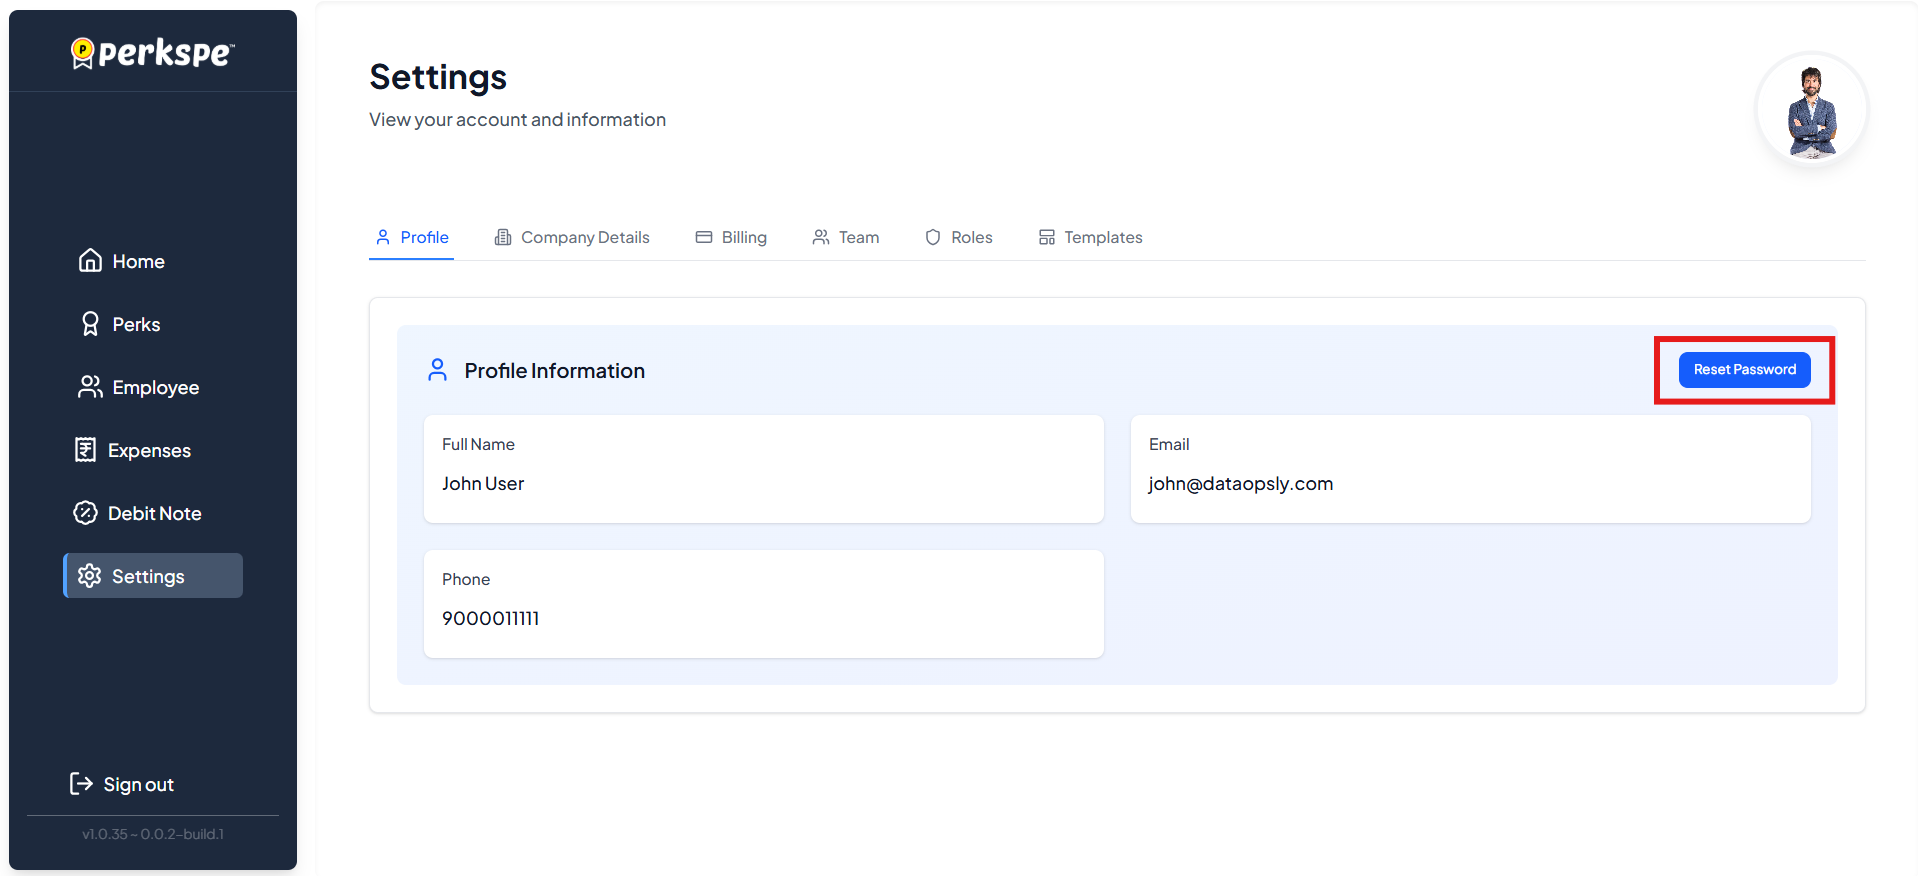
1. Profile Information
The Profile tab allows you to manage your personal account details and security settings.
| Action | Description |
|---|---|
| View Profile | See your Name, Email, and Phone Number. |
| Security Actions | Manage account security and access sessions. |
| Reset Password | Change your login credentials (see Password Reset). |
2. Company Details
Update your organization's legal identity and branding. You can also change the company logo from this section.
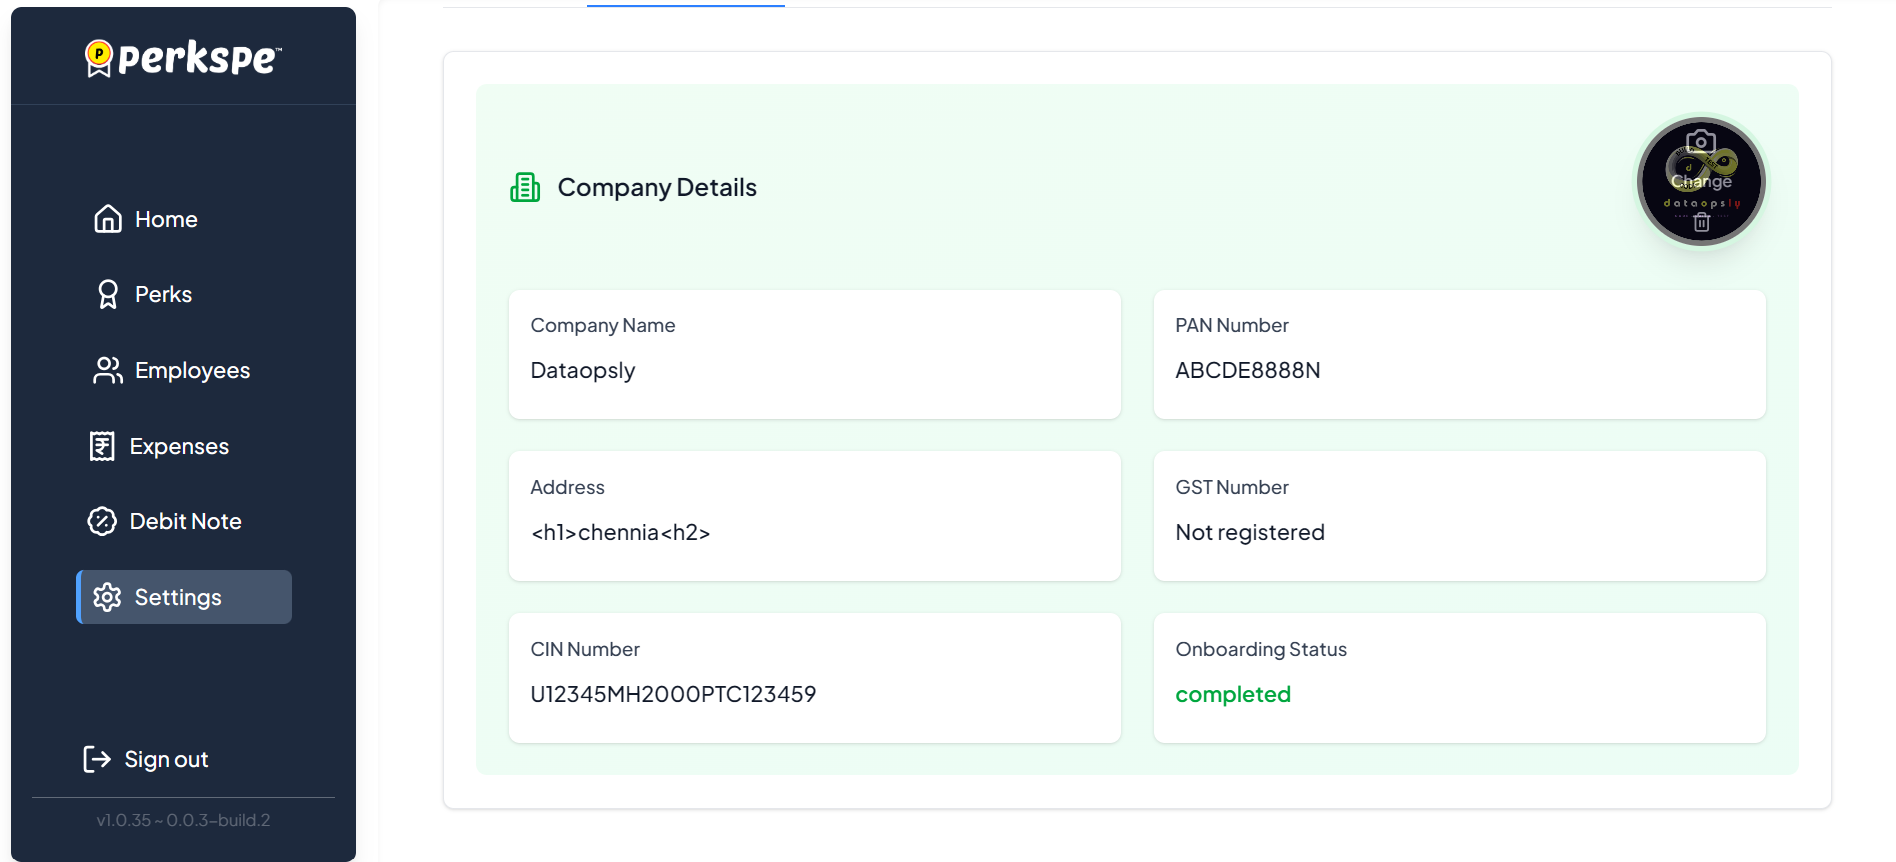
Branding
- Company Profile Picture: Click the camera icon or the Change button on the logo to upload a new company image.
- Delete Logo: Use the trash icon to remove the current logo.
Legal & Status
| Field | Description |
|---|---|
| Company Name | Official registered name of your company. |
| Legal IDs | Displays your CIN Number, PAN Number, and GST Number. |
| Address | The registered office address. |
| Onboarding Status | Shows if the organization setup is completed. |
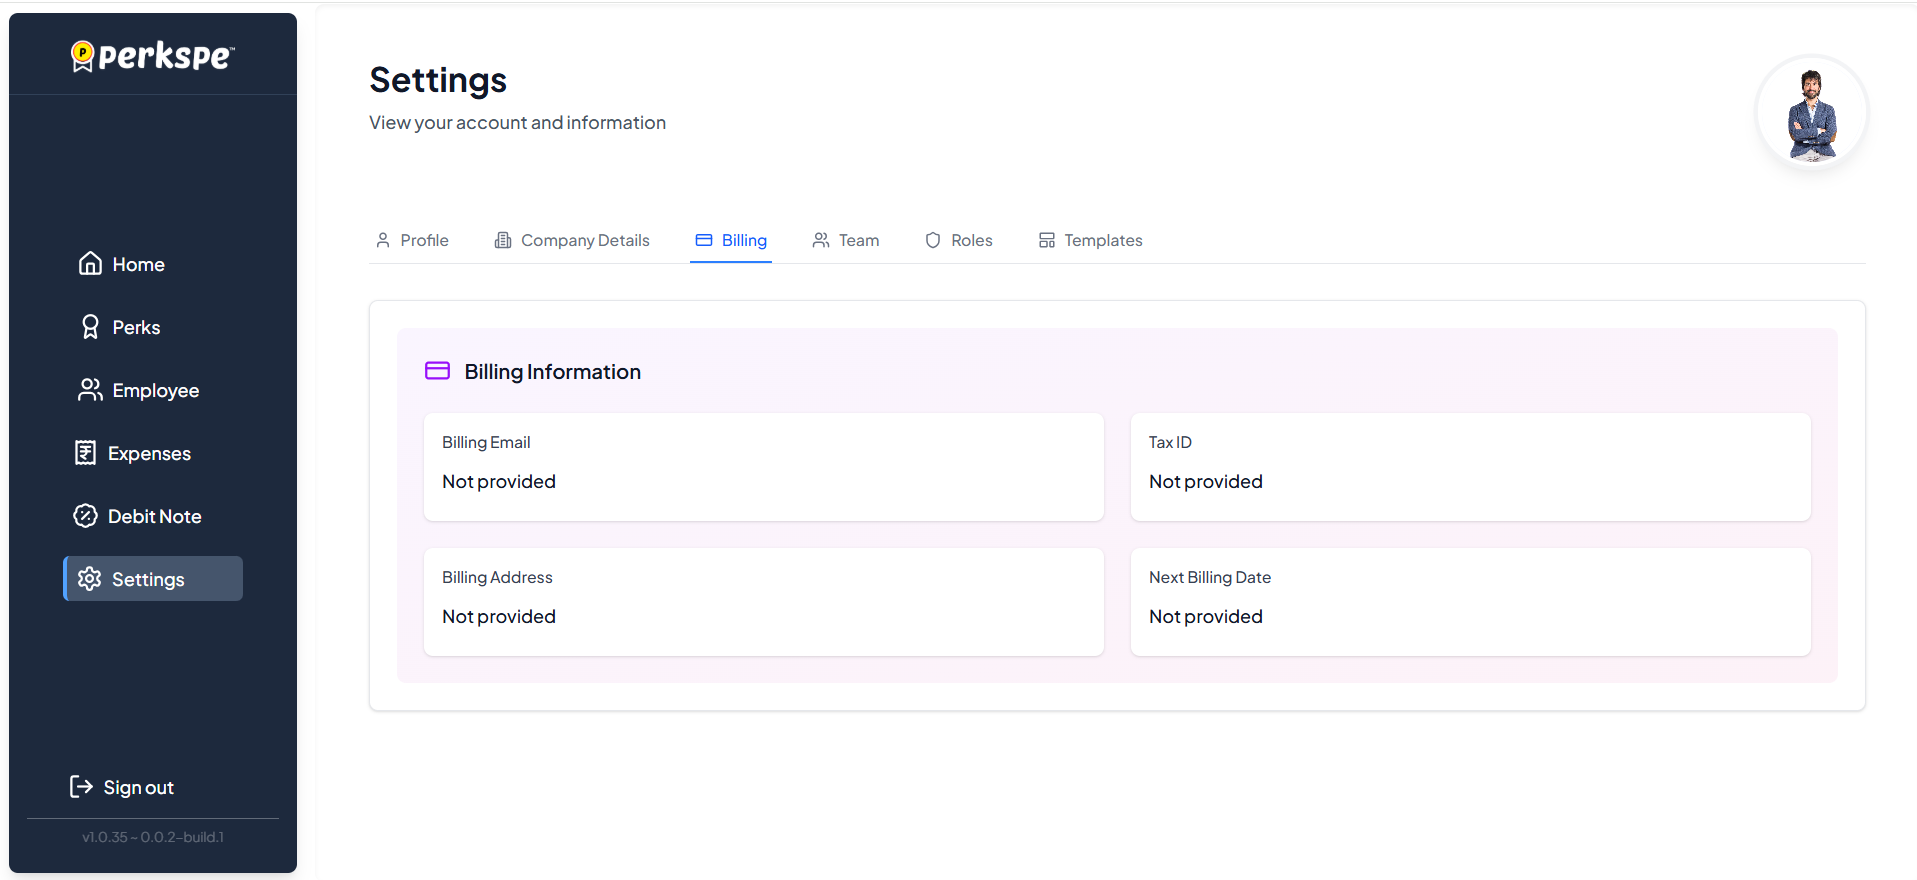
3. Billing
Manage your organization's financial and tax information for PerksPe services.
| Field | Description |
|---|---|
| Billing Email | Where invoices and receipts are sent. |
| Tax ID | Your organization's tax identifier. |
| Billing Address | Official address for invoicing. |
| Next Billing Date | When your next subscription payment is due. |
4. Team Management
View and manage team members who have portal access.
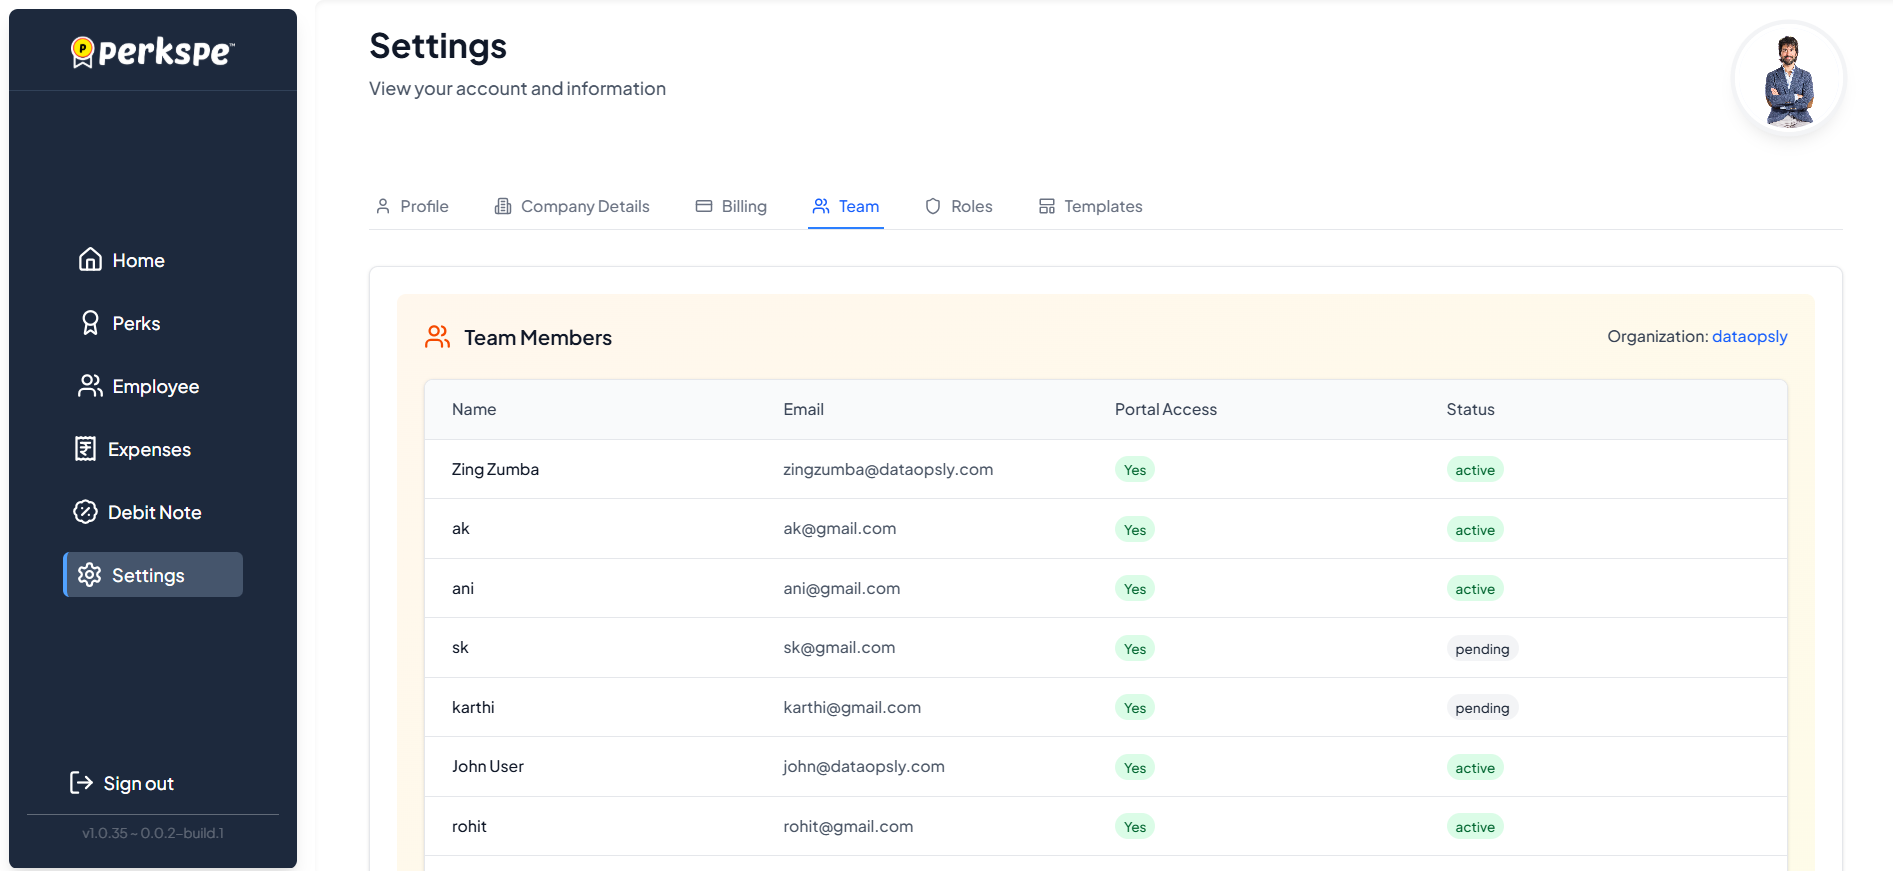
Member List Details:
- Name & Email: Contact information for each member.
- Portal Access: Indicates if the user can log into the web portal.
- Status: Shows if the member is Active or Inactive.
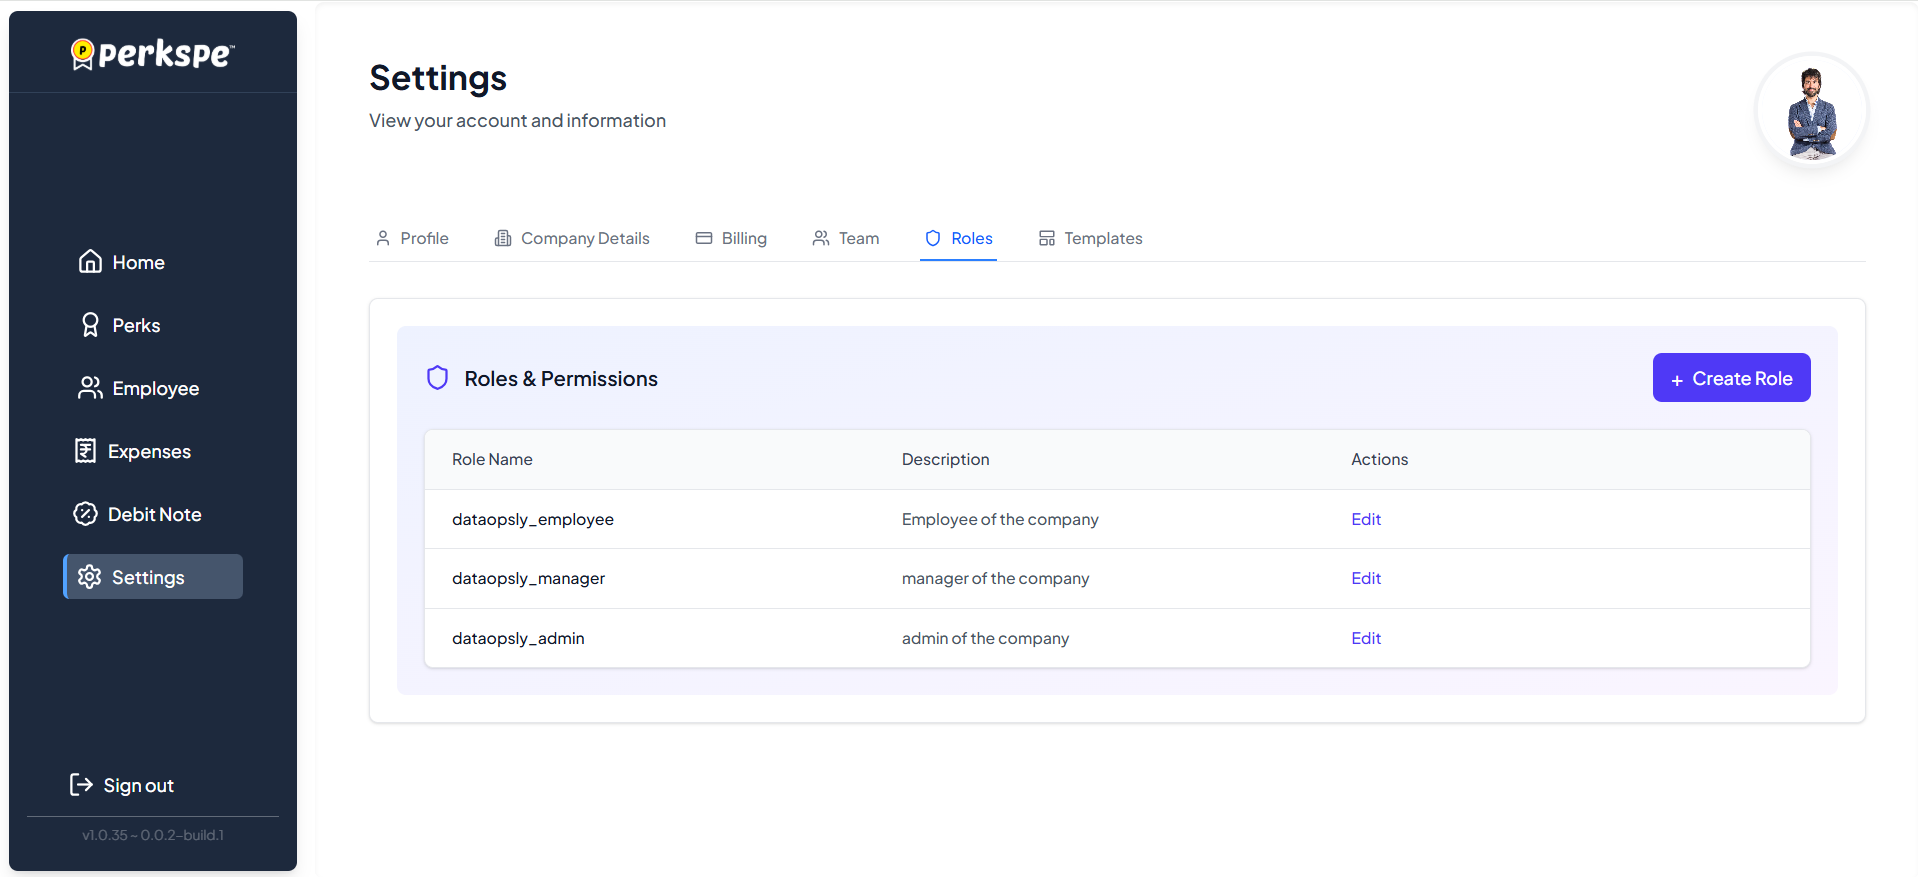
5. Roles & Permissions
Define access levels by creating and managing roles.
Default Roles
PerksPe comes with three pre-defined roles:
| Role | Typical Use |
|---|---|
| Admin | Full system access and configuration. |
| Manager | View team activity and approve/reject expenses. |
| Employee | View and redeem personal perks. |
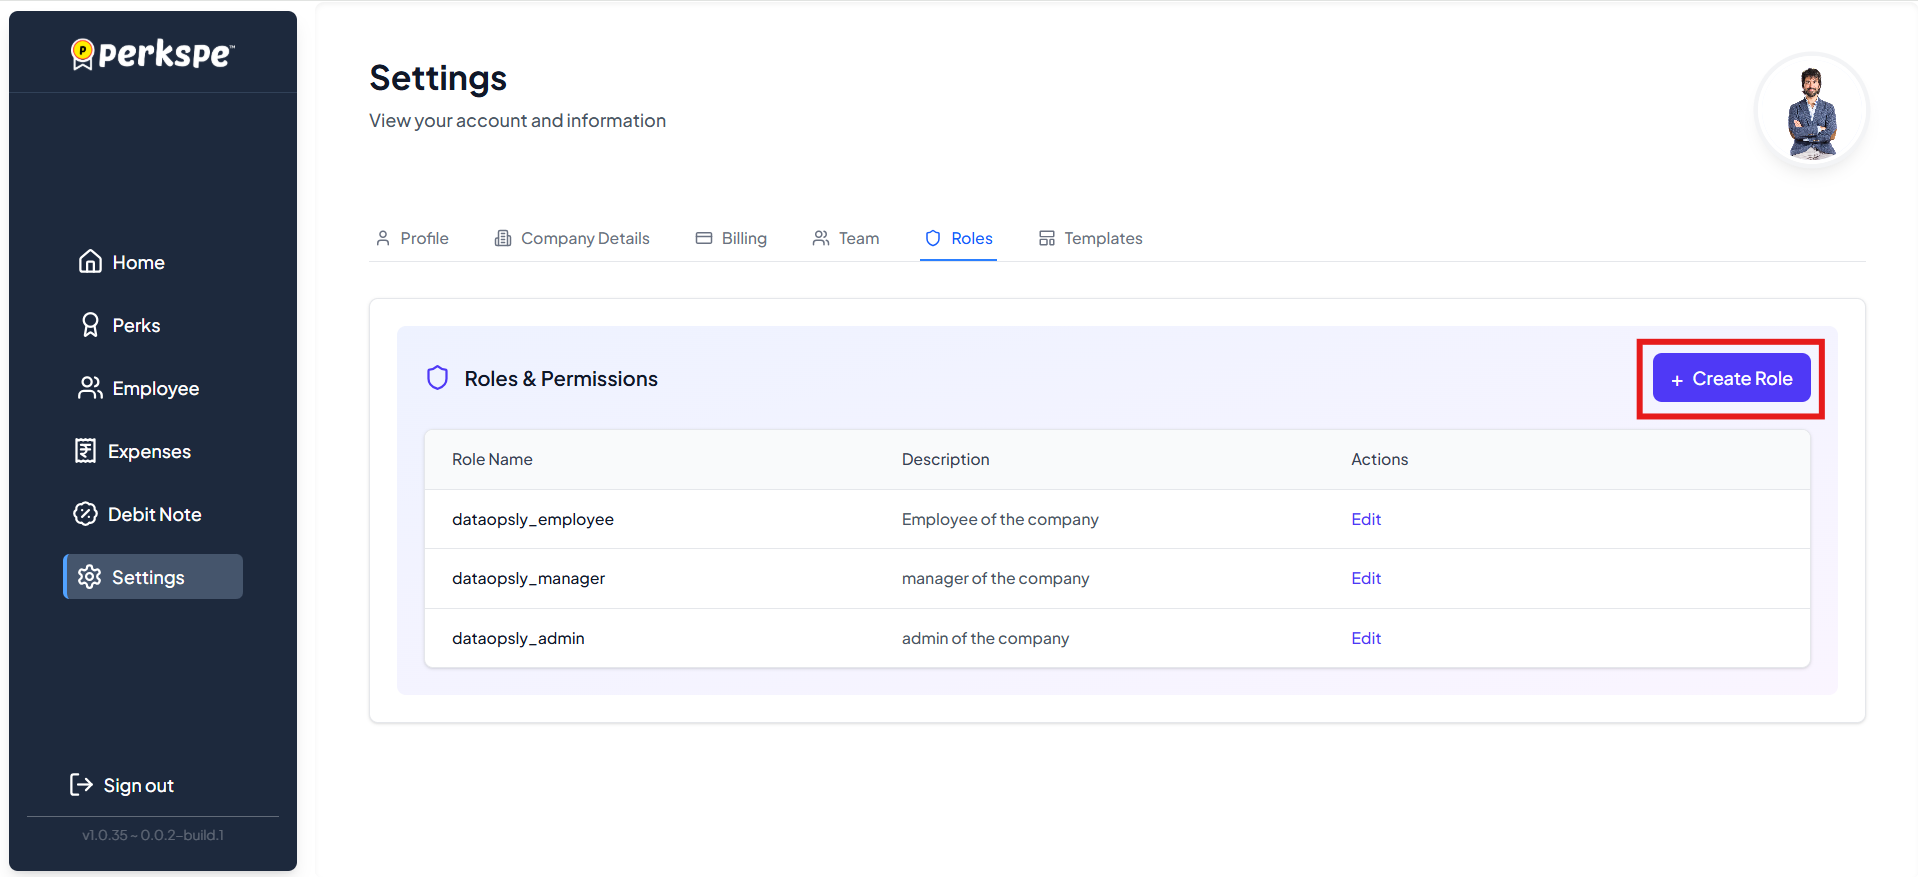
Creating Custom Roles
- Click the Create Role button.
- Enter a Role Name and Description.
- Select specific Permissions from the dropdown list.
- Click Save.
Permissions Reference
Permissions are grouped to give you granular control:
| Category | Permissions |
|---|---|
| Users | Create, View, Update, Delete, List Users. |
| Expenses | Create, View, Update, Delete, Approve/Reject, Comments, Attachments. |
| Perks | Create, View, Update, Delete, Assign to Users. |
| System | View Dashboards (Finance/HR), Analytics, Reports, Update Profile. |
| Roles | Create, View, Update, Delete, Assign Roles. |
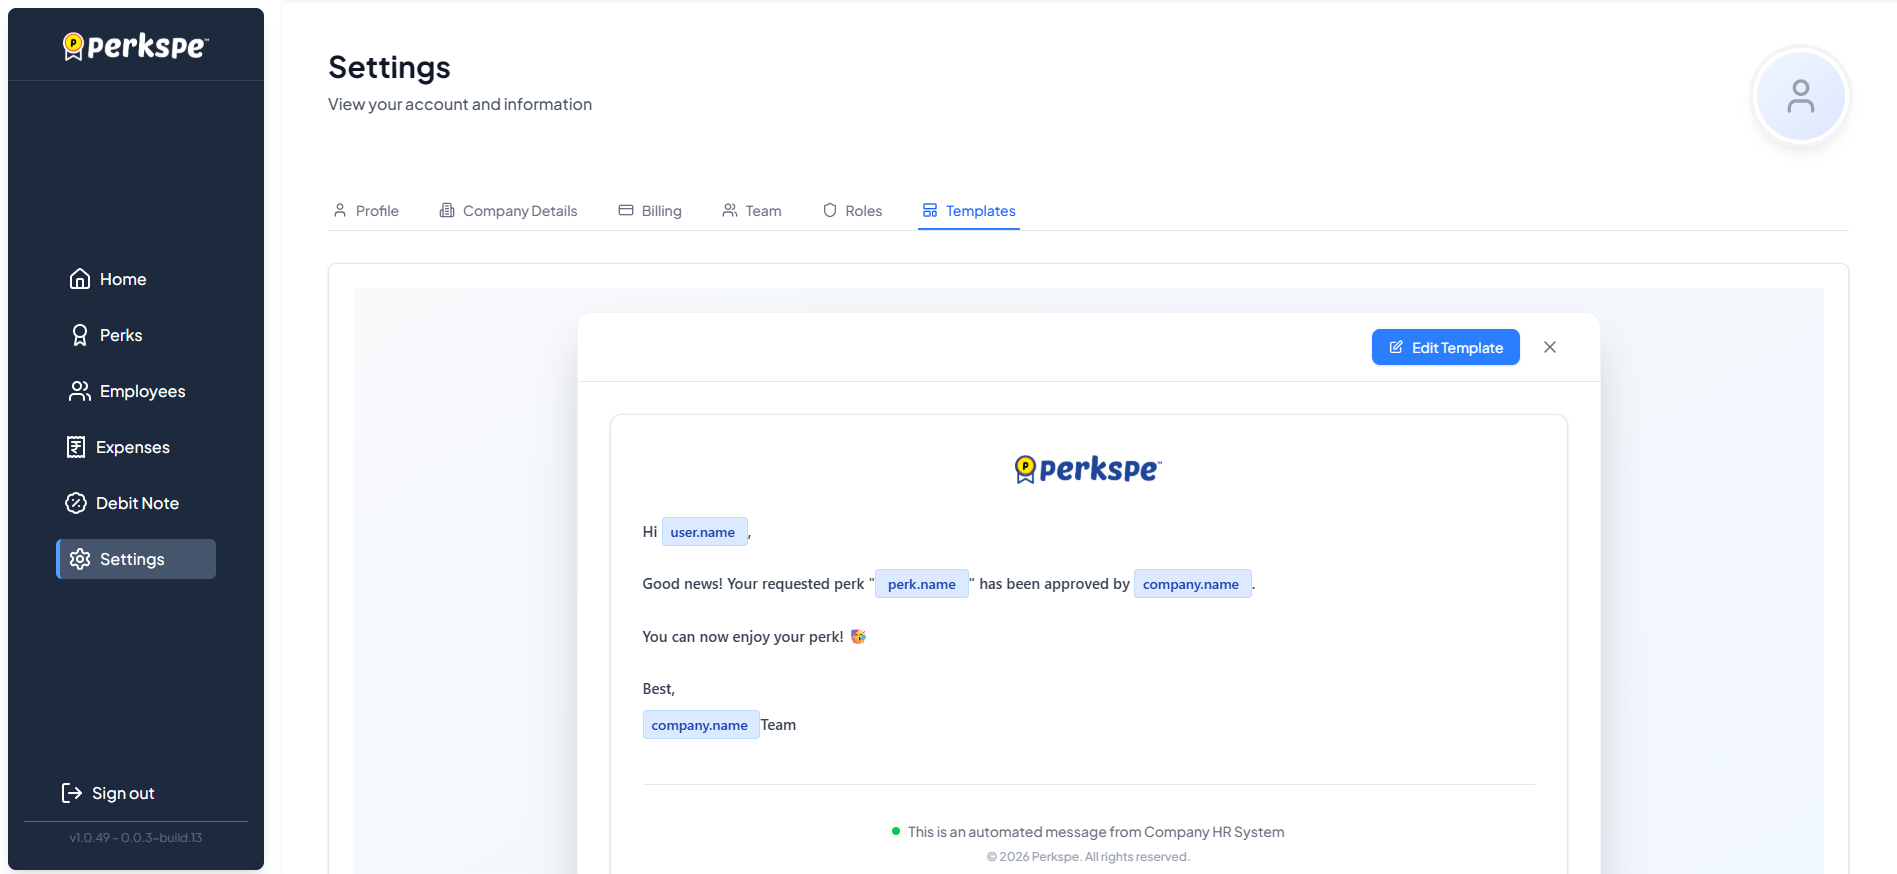
6. Email Templates
Customize automated email notifications sent to employees.
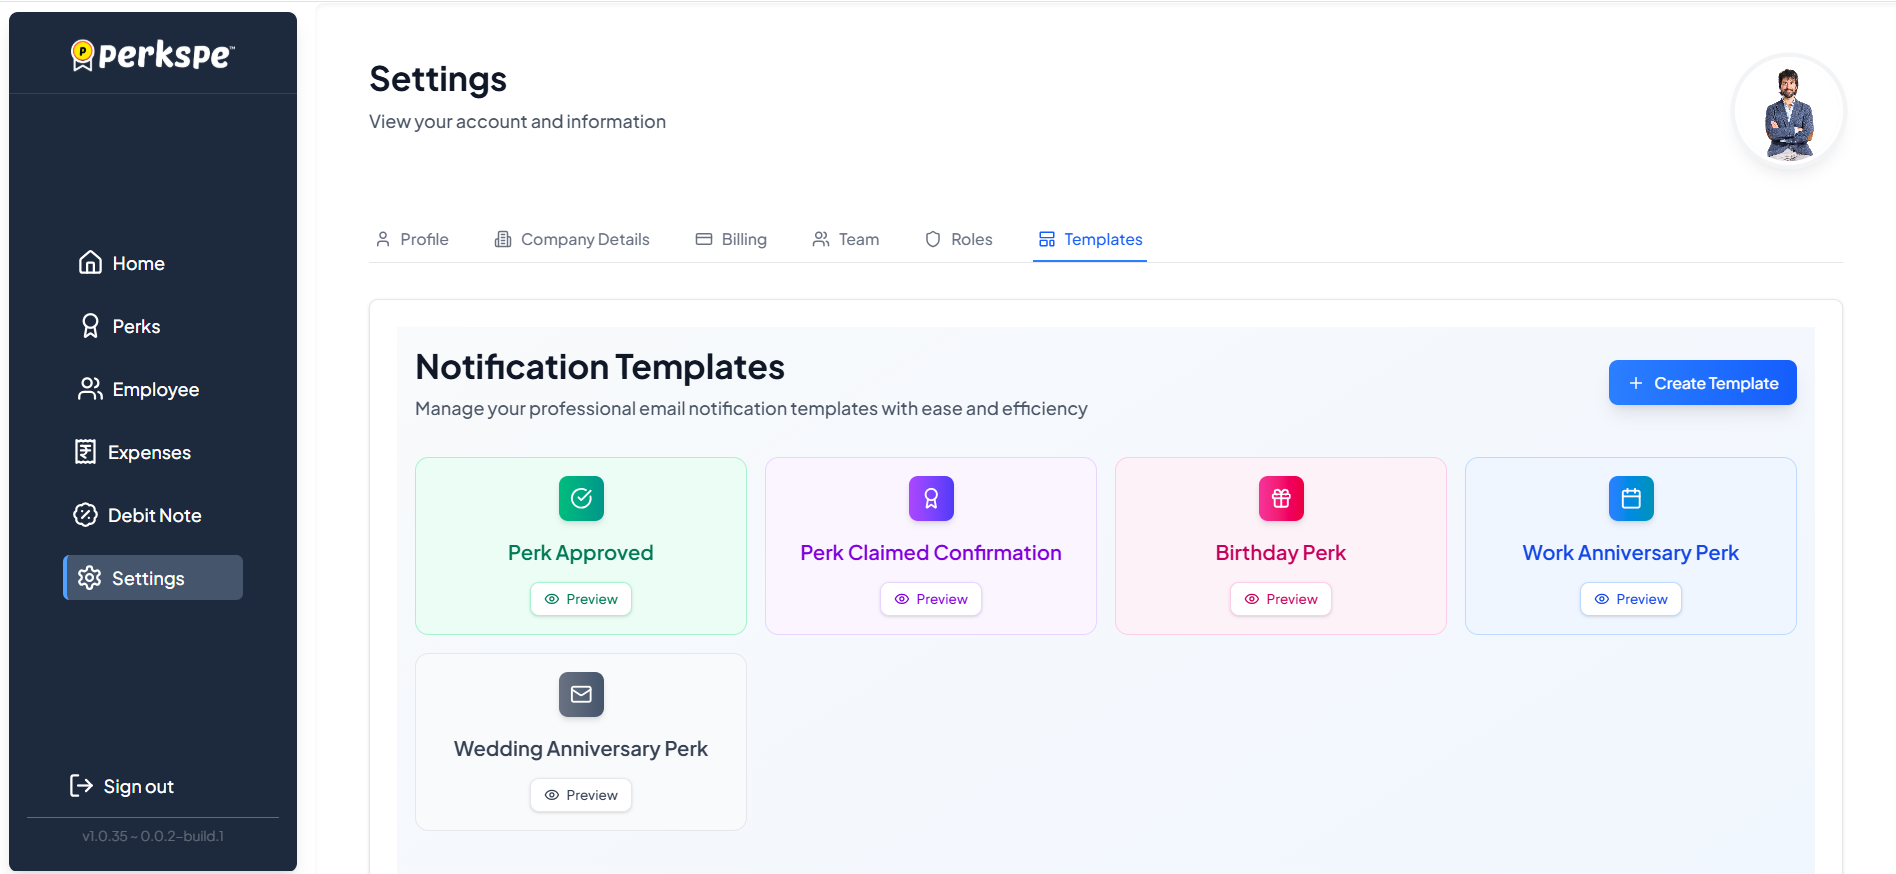
Common Templates
- Perk Approved: Sent when a perk is granted.
- Perk Claimed: Confirmation after redemption.
- Milestones: Birthday, Work Anniversary, and Wedding Anniversary perks.
Managing Templates
- View: Click the eye icon to see a template.
- New Template: Click the + Create icon.
- Edit: Use the Edit Template option in the editor.
using Variables
You can insert dynamic content (like user names or perk details) using variables.
How to use:
Type {{ in the editor to open the variable suggestion dropdown. Select the variable you want to insert.
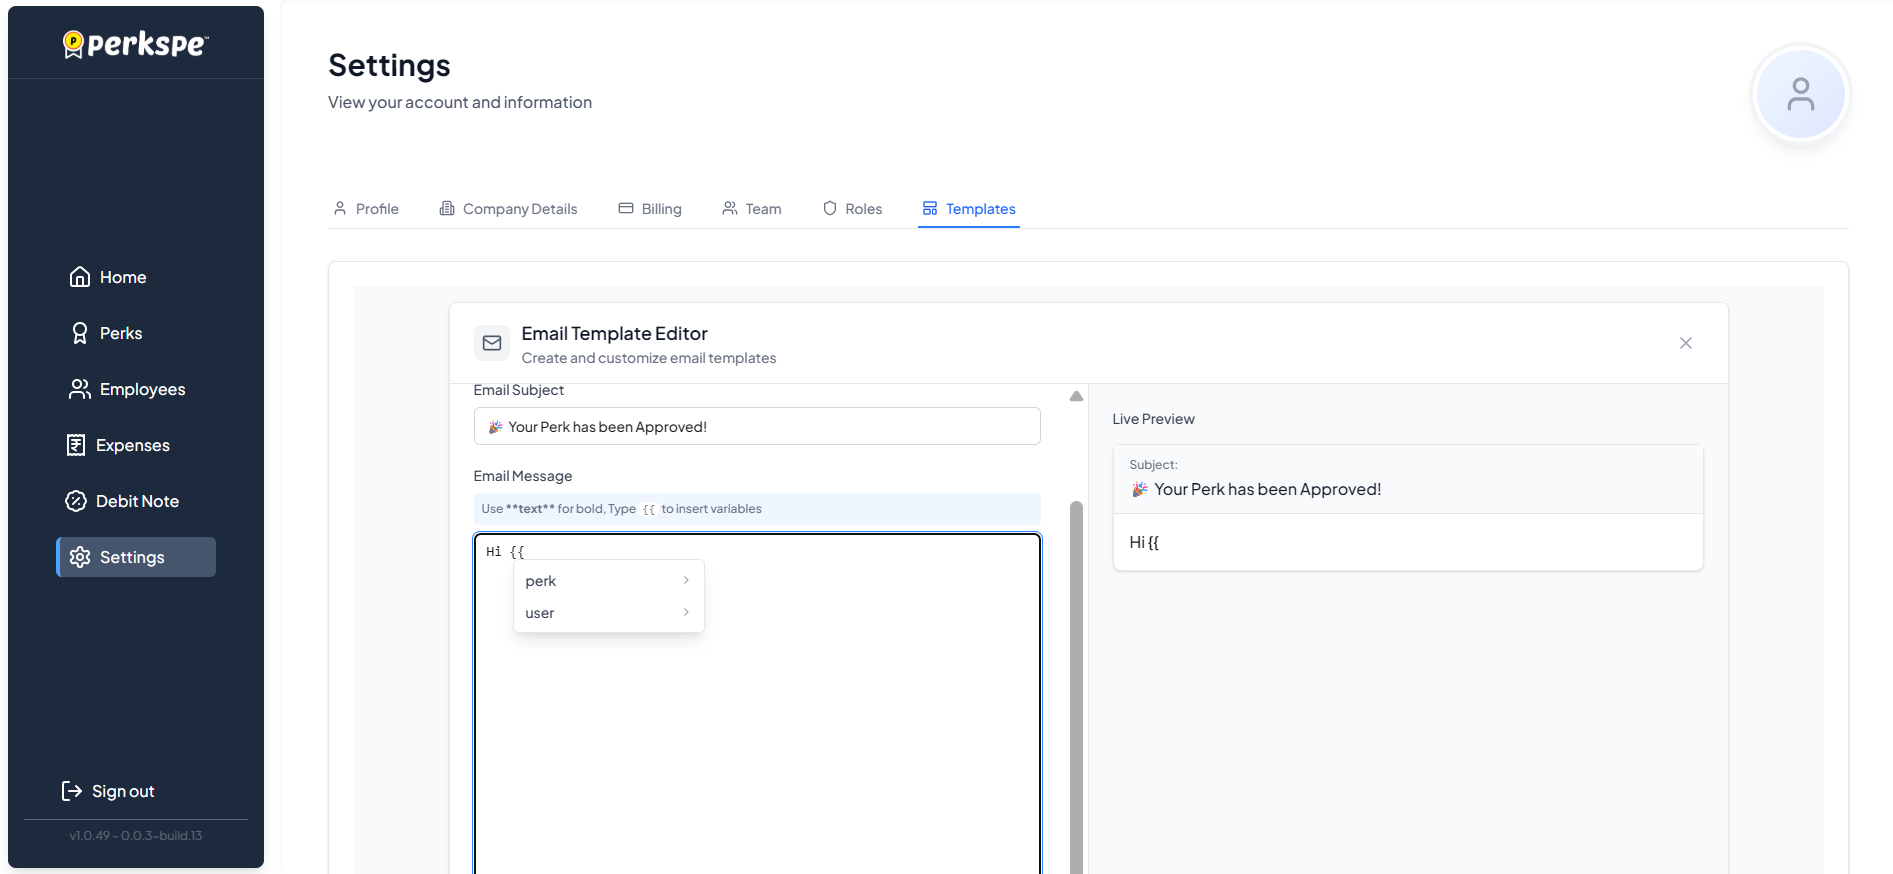
Use the Preview panel to see how the email will look with sample data before saving.
7. Expense Custom Fields
Manage and define specific properties to capture custom transaction details for your organization (e.g., quantities, projects, specific reviewers).
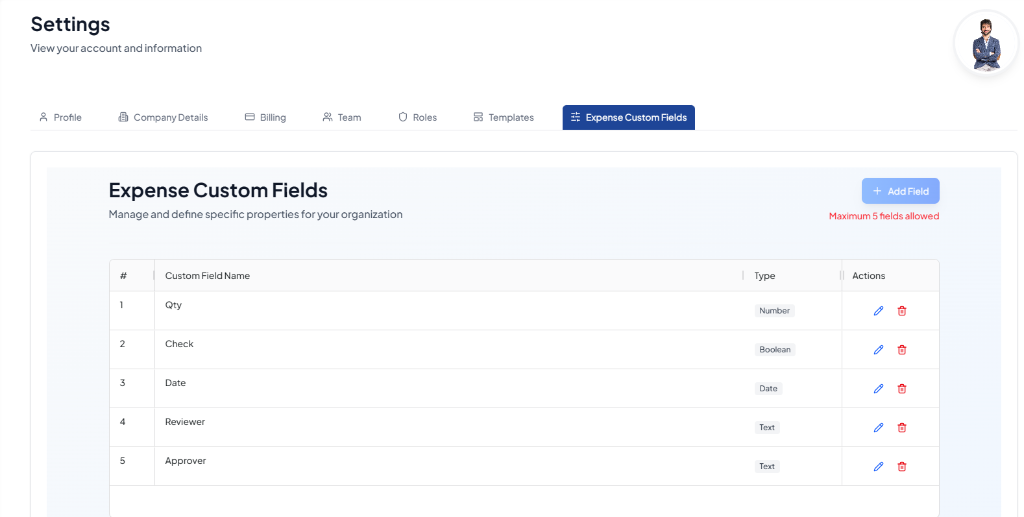
Key Features & Limits
- Ad-hoc Expense Properties: Extend the default expense submission forms by creating custom organization-wide fields.
- Maximum Count: Your organization can define a maximum of 5 custom fields at any time.
Available Field Types
When creating a custom field, you can choose from the following data types:
| Field Type | Typical Use Case | Input Control |
|---|---|---|
| Text | Names, projects, client notes, reviewer name | Single-line alphanumeric text box |
| Date | Specific transaction date, event date | Date selector calendar popup |
| Boolean | Billable status, client present yes/no | Checkbox or Toggle control |
| Number | Quantities, bill counts, unit volumes | Numerical input selector |
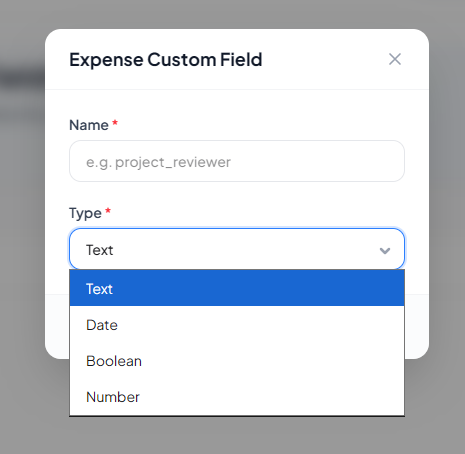
Adding a Custom Field
- Navigate to Settings -> Expense Custom Fields and click + Add Field.
- A popup modal will appear:
- Name: Enter the custom field name (e.g.
project_reviewer). - Type: Select from the dropdown (Text, Date, Boolean, or Number).
- Name: Enter the custom field name (e.g.
- Click the save option to create the field.
Editing & Deleting Fields
- Edit Field: Click the blue Edit (pencil) icon on any custom field row to update its settings.
- Delete Field: Click the red Delete (trash) icon on any custom field row to remove it from the organization.
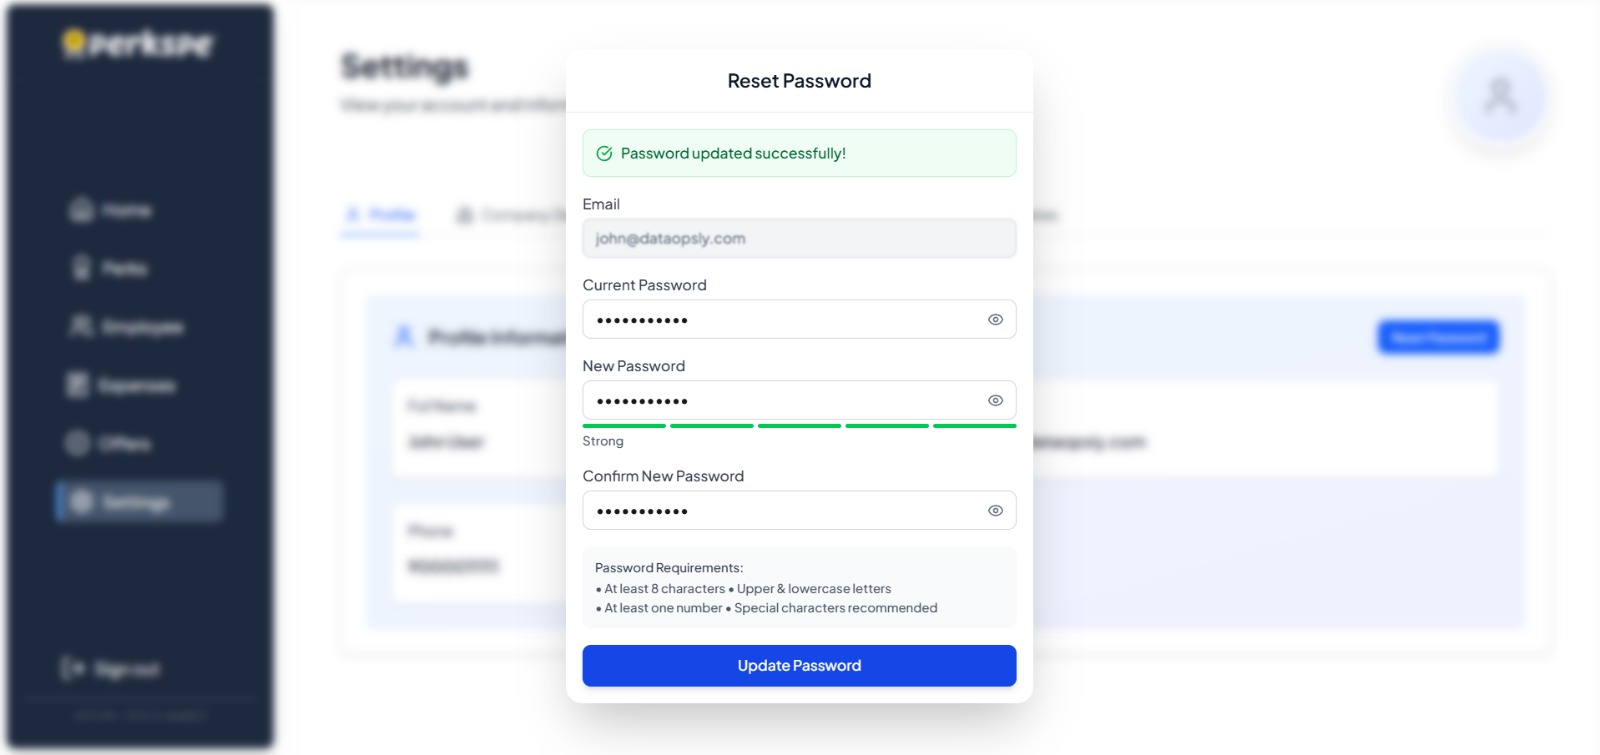
8. Password Reset
Follow these steps to update your login credentials.
Step 1: Initiate Reset
Click the Reset Password button in the top-right of the Profile section.
Step 2: Enter Details
A popup will appear with your email pre-filled. Enter your:
- Current Password
- New Password
- Confirm New Password
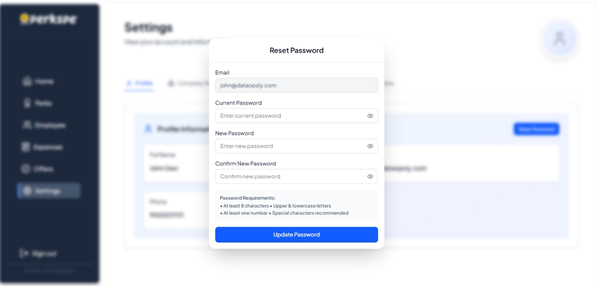
Password Requirements
To keep your account secure, your new password must have:
- ✅ At least 8 characters
- ✅ Upper & lowercase letters
- ✅ At least one number
- ✅ At least one special character
New Password cannot be the same as your Old Password.
Step 3: Update
Click Update Password. A confirmation "Password updated successfully!" will appear upon success.